
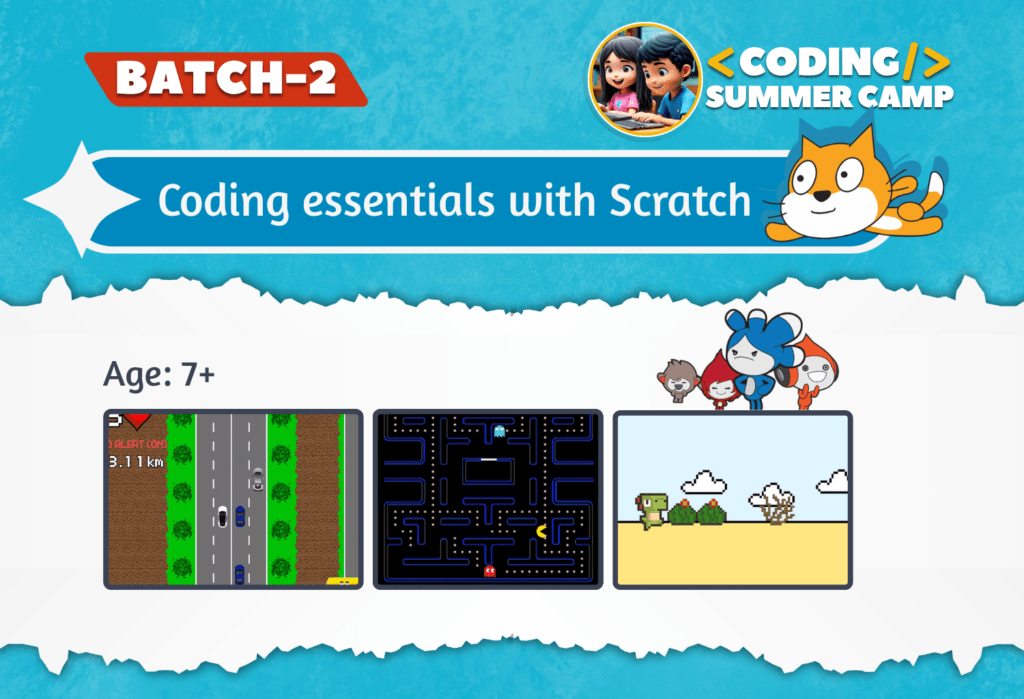
Coding Essentials with Scratch - Batch II
Live: In-Person and Online
About Course
This course provides an introduction to Scratch, a visual programming language designed to teach programming concepts through hands-on projects. Over the course, students will learn to create interactive games and animations using basic Scratch tools and concepts. By the end of the course, students will have developed several fun games while mastering key programming skills.
Day 1: Introduction to Scratch and Pattern Printing
- Introduction to the Scratch Interface: Understanding the workspace, sprites, and basic tools.
- Pattern Printing: Introduction to loops and angles.
- Create simple patterns: squares, triangles, and spirals.
- Experiment with “repeat” loops for drawing shapes and creating patterns.
- Variables and Coordinates: Understanding how coordinates control sprite movement.
- Creating the Car Game: Introduction to controlling a car sprite with the keyboard.
- Exploring Basic Movements: Using the arrow keys to control sprite movement.
- Use variables for speed and score.
- Basic collision detection with obstacles.
- Customizing the Game: Changing backdrops, adding new car sprites, and setting up a simple game loop.
- Adding Obstacles: Introduce enemy car sprites that move towards the player.
- Use random positions and speeds for variety.
- Collision Detection and Scoring: Track player score and penalties for collisions.
- Create a game over mechanic and restart function.
- Refining Gameplay: Adding sound effects, improving car movement, and setting difficulty.
- Set up the game window with scrolling ground and background.
- Create a running and jumping dinosaur using gravity-based movement.
- Add moving obstacles and implement collision detection.
- Introduce a score system and increase difficulty over time.
- Add game over logic, restart option, and basic sound and visual effects.
- Creating the Maze: Draw a simple maze with walls and pathways.
- Pac-Man Sprite Movement: Learn how to use arrow keys to move Pac-Man through the maze.
- Basic Ghost AI: Simple movement patterns for enemy ghosts.
- Basic Scoring: Add points for collecting dots within the maze.
- Ghost Behavior: Implementing more advanced ghost movement.
- Random movement, chasing the player, or patrolling specific areas.
- Power-Ups: Add collectible items (e.g., power pellets) that allow Pac-Man to eat ghosts.
- Lives and Game Over: Implement player lives and display the score.
- Air Hockey Mechanics: Create paddles controlled by mouse movements and a ball that bounces off walls.
- Ball Movement: Learn how to make the ball bounce realistically.
- Basic Scoring: Set up goals and a score counter for each player.
- Game Rules: Establish win conditions and game over logic.
- AI Opponent: Implement an AI-controlled paddle for single-player mode.
- Use simple algorithms to make the AI follow the ball.
- Multiplayer Mode: Refine the game for two-player interaction using keyboard.
- Visual Effects: Add particle effects for puck collisions and goals.
- Mastery of key programming concepts such as loops and variables.
- Development of problem-solving skills through game design.
- Creation of engaging interactive games with visuals and sound.
- Enhanced understanding of game mechanics and the iterative process of game development.
- Confidence in coding logic and project planning for game development.
What Will You Learn?
- Scratch installation and navigation.
- Sprite movement and pen drawing basics.
- Simple game creation like Frog Game and Space Shooter.
- Introduction to variables and scoring systems.
- Problemsolving skills through hands-on projects.
- Continued development of games like Pac Man and Space Shooter.
- Finalizing projects with additional features.
- Introduction to game design principles.
- Showcasing completed games and receiving feedback.
Certifications
“Coding Essentials With Scratch”
July’2025-August’2025
Certified Students 🌟
Here you can view and download your certificates
Lecture 01: Introducing Scratch - Understanding coordinate axis and Algorithms
Concept of Coordinates
Learned the coordinate system in Scratch using the Stage’s XY grid.
The center of the stage is (0, 0).
X-Axis: Left and Right Movement
The X-axis runs horizontally (left ↔ right).
Positive X values move a sprite right.
Negative X values move a sprite left.
Examples:
Walking forward and backward on a straight road.
Earning and spending money: Earning adds to X (goes right), spending subtracts from X (goes left).
Y-Axis: Up and Down Movement
The Y-axis runs vertically (up ↕ down).
Positive Y values move a sprite up.
Negative Y values move a sprite down.
Examples:
Jumping or flying upward (positive Y).
Going down stairs or into a mine (negative Y).
Lifting a balloon or climbing a ladder = Y increases.
Creative Activity: Name Printing Technique
Learned how to “print” letters using coordinates by placing pen down and moving the sprite.
Started printing the name “HAMZA”.
Successfully created the letters H and A using movement and drawing.
Skills Practiced
Using motion blocks like
go to x: y:andmove steps.Practiced pen blocks like
pen down,pen up, andclear.Applied math and logic to place lines and angles correctly.
Lecture 02: Name Priting Using Glide Instruction
Converted Name Printing Code
Replaced all
go to x: y:blocks withglideinstructions.Made the letters move smoothly to their positions.
Added Character Sprites
Imported new character sprites to the stage.
Applied Visual Effects for Animation
Used the following visual effects to animate sprites:
set ghost effect to 50– made sprite semi-transparent.set whirl effect to 100– added a twisting visual effect.set fisheye effect to 50– gave a bubble-like distortion.change size by 20– increased sprite size for emphasis.
Used Loops for Animation
Wrapped effects inside
repeatblocks to create animation over time.
Lecture 03: Using Broadcast and making Frog Road Crossing Game
Taught Broadcasting through Name Printing
Built upon the previous class’s name printing activity.
Used
broadcastandwhen I receiveblocks to animate each letter one after the other.Helped students understand event-driven programming using broadcasting.
Frog Road Crossing Game Implementation
Designed the road layout horizontally on the screen.
Programmed cars to move horizontally across the screen using
change x byblocks.Assigned vertical movement controls (
change y by) to the Frog sprite.Ensured the frog moves upward and downward to cross the road.
Used broadcasting for major game events:
broadcast winwhen frog reaches the top safely.broadcast deadwhen frog collides with a car.
Changed frog costume to a “crashed” version on collision.
Used
switch costume toblock upon receivingcrash.Used
if touchingblock to detect collisions between frog and cars.Triggered broadcast and visual feedback accordingly.
Lecture 04: Frog Road Crossing Game Part 02
Enhanced Car Behavior with Randomness
Introduced randomness in car behavior to make the game more dynamic and unpredictable.
Randomly changed car costumes using
pick randomblock to simulate different car types.Varied the car speed using
change x by pick random, adding more challenge.Randomized the waiting time before each car starts, using
wait pick randomblock.
Timer Implementation
Added a timer to track how long the player takes to cross the road.
Used variable blocks to create and update the timer continuously during gameplay.
Helped students understand how timers can increase urgency and add a scoring dimension.
Visual Feedback for Win/Loss
Decreased the frog’s size when it wins to give a visual sense of progress or reward.
Changed the backdrop to a victory scene when the frog wins using
switch backdrop to win.Switched backdrop to a game over scene on losing using
switch backdrop to lose.Reinforced cause-and-effect relationships using broadcasts for both outcomes.
Lecture 05: Car Racing Game
Created a moving road using two road sprites (not backdrops) to simulate forward motion.
Made the road scroll continuously by changing Y positions and resetting when off-screen.
Added a player car sprite that moves left and right smoothly using the glide block.
Avoided
go tofor player control to ensure smooth, natural movement.
Added enemy cars that:
Appear at random X positions.
Randomly choose costumes and speeds.
Glide downward and reappear after a delay.
Created custom “Game Start” and “Game Over” screens using text-based sprites (not backdrops).
Controlled visibility using broadcast messages.
Added a timer variable to count how long the player survives.
Used collision detection to trigger the game over sequence when the player car touches an enemy car.
Lecture 06: Car Racing Game - Part II
Limited the Number of Enemy Cars:
- Introduced a
carCountvariable to ensure no more than 2 cars appear on the road at the same time. - Incremented
carCountwhen a new enemy car spawns and decremented it when the car goes off-screen.
Added Player Lives:
- Created a
livesvariable (starting from 3). - When the player car touches an enemy car a life is subtracted.
- Game ends only after 3 collisions.
- Used broadcasts to show “Game Over” screen when lives reach 0.
Added Sounds:
- Crash sound plays when the player collides with an enemy car.
- Movement sound plays when the player moves left or right.
Controlled Car Speed with Variables:
- Used two variables:
carSpeedLowandcarSpeedHighto define a range for enemy car speed. - Each car’s speed is randomly selected between these values.
- As the level progresses, both speeds gradually decrease, making the game harder.
Lecture 07: Color Pop Game
Added a board that moves with arrow keys and changes color with ‘A’ key.
Created colored balls (3 types) using clones falling from the top.
Balls glide down from random positions.
Catching ball with matching color increases score.
Catching wrong color or missing a ball triggers Game Over.
Added a Score variable.
Added Rainbow Power-Up that allows catching any color temporarily.
Displayed Game Over screen and stopped game on failure.