
About Course
Welcome to our 4th short-course: Implementing Angry Birds in Unity! This course is part of our “Scratch to Unity” master course series, where, we’ll take you through the exciting journey of bringing the beloved Angry Birds game to life using Unity. Here’s a sneak peek of what you can expect:
- Game Demo & Concept Discussion: We’ll start with a game demo and explore the concept of Angry Birds, exploring what makes it engaging and addictive. We’ll also showcase what has already been developed and discuss potential enhancements.
- Creating a 2D New Project: Get ready to start with Unity as we create a new 2D project. We’ll walk you through the Unity interface and environment, explaining the key elements you’ll be working with, including sprites and components.
- Building the Game Environment: Learn how to create the game’s sky and players, adjusting scales and adding vibrant colors. We’ll also create the ground, add objects, set scales and positions, and ensure everything has the necessary colliders for interaction.
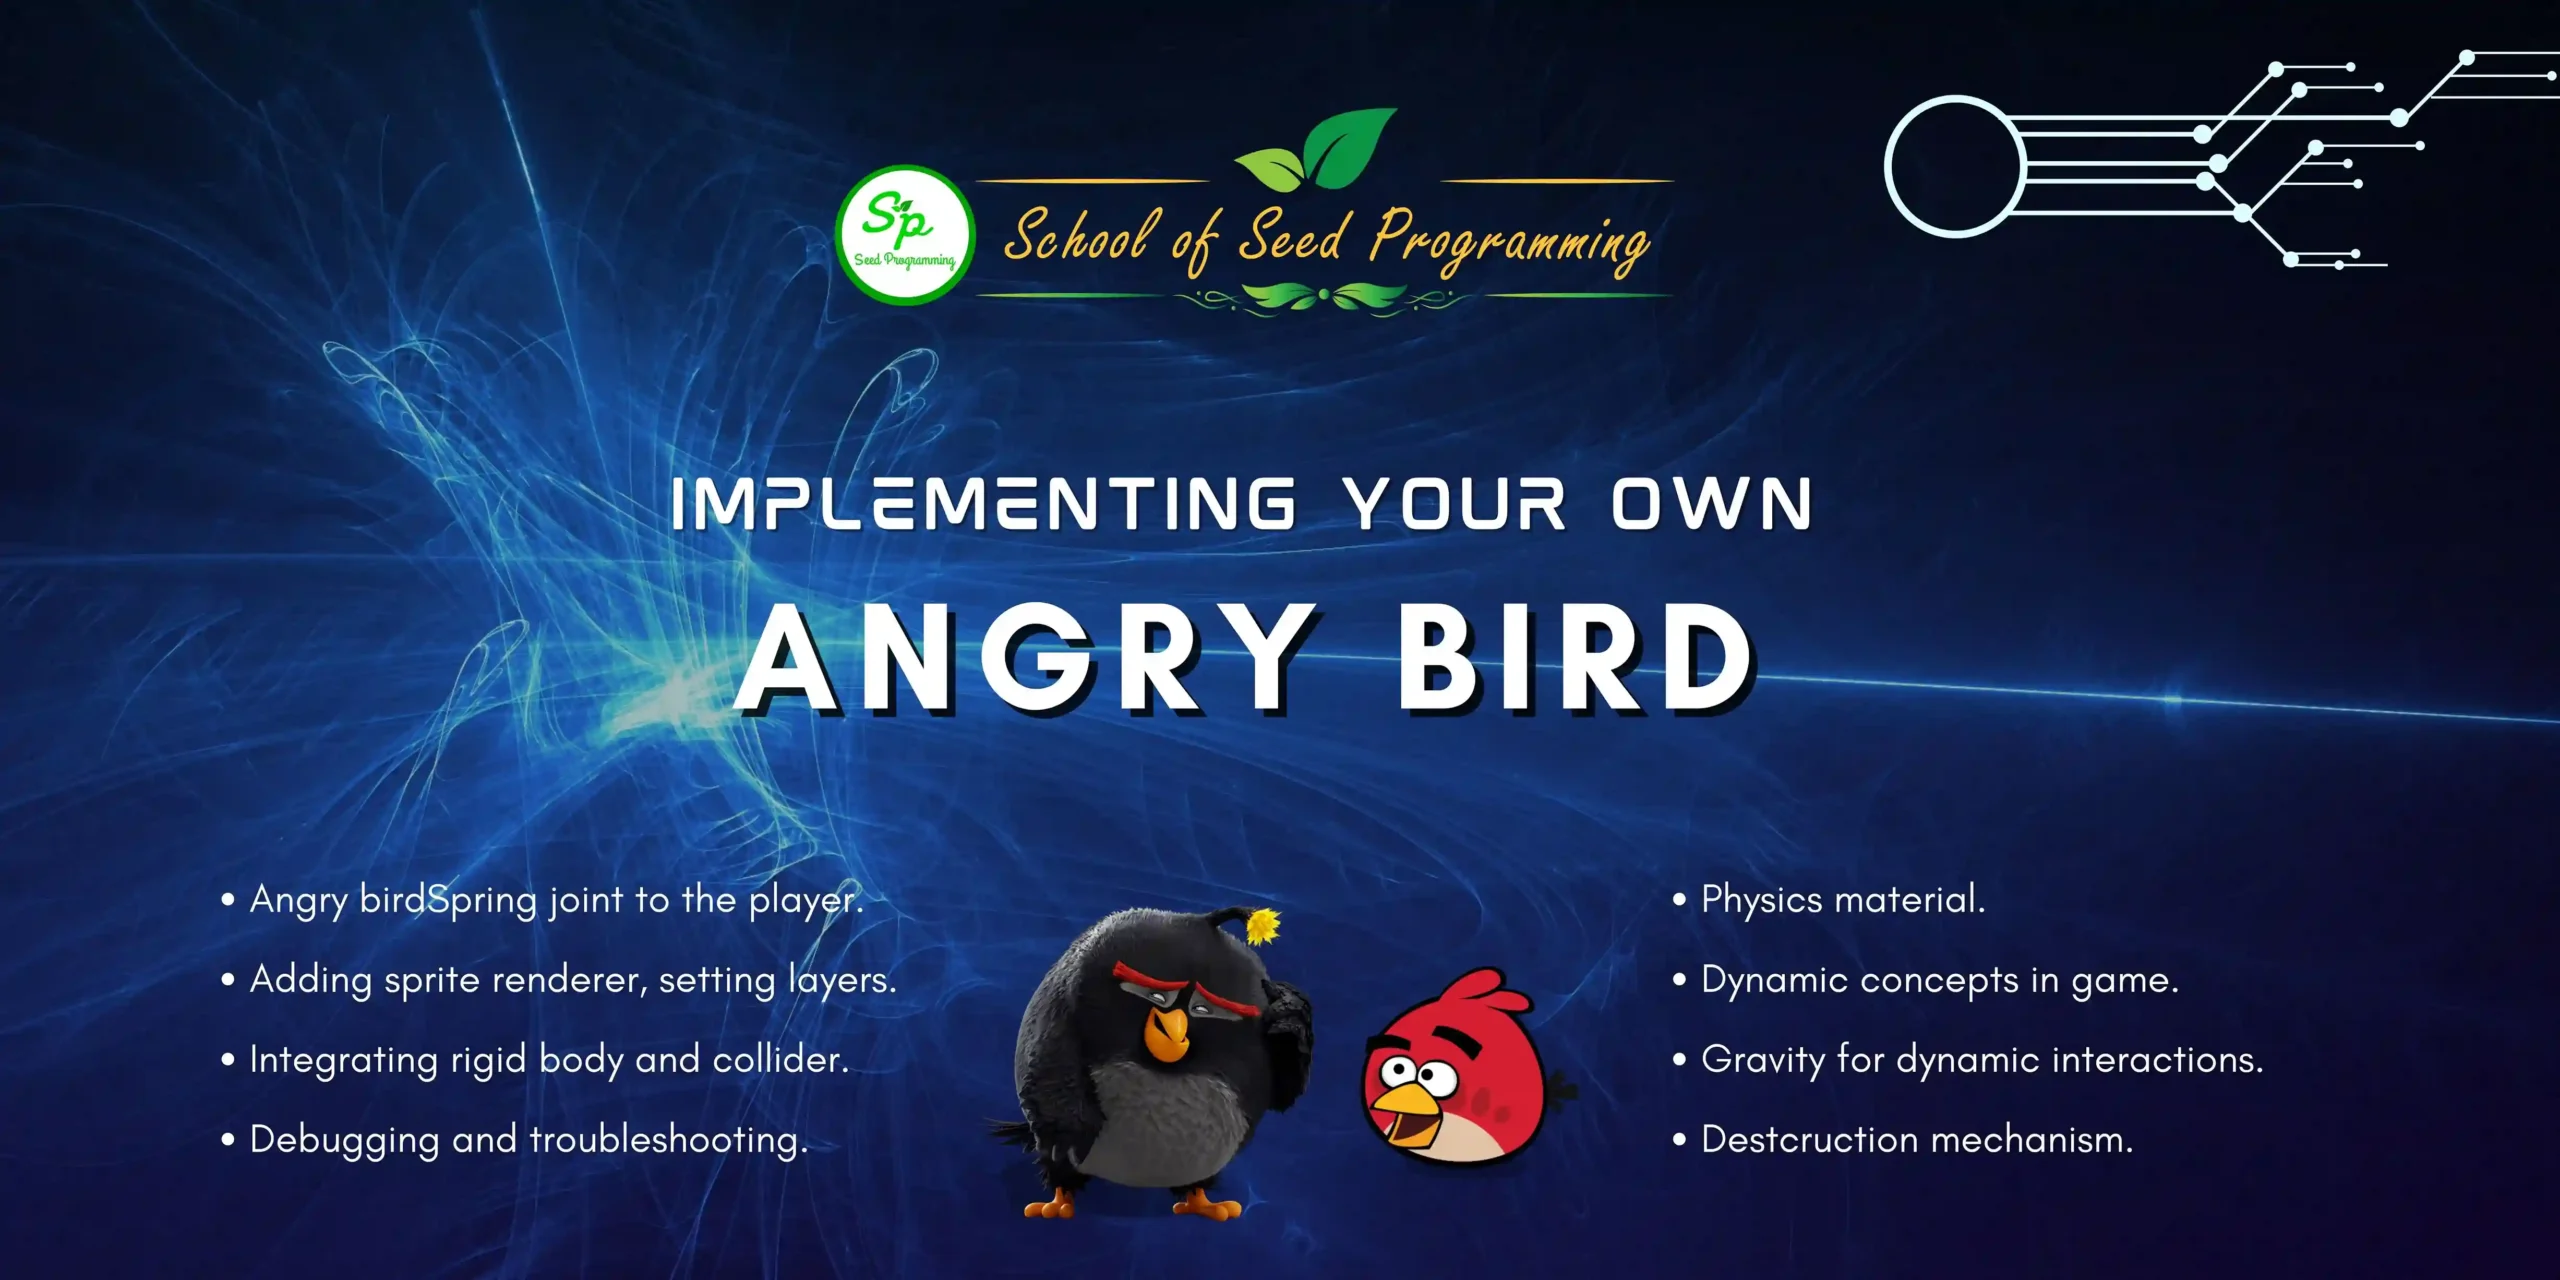
- Creating the Angry Bird Player: Time to bring our feathered protagonist to life! We’ll reset transforms, add sprite renderers, set layers, add colors, and implement physics with rigid bodies and colliders.
- Adding Spring to the Player: Ever wondered how Angry Birds launch into action? We’ll show you how to add a spring joint, anchor sprites, and compress the spring for that satisfying slingshot effect.
- Writing Player Script: We will start scripting as we create a player script, handle input, call functions, work with Vector3, and debug any issues that arise. We’ll ensure our Angry Bird responds smoothly to player interactions.
- Adding Required Materials & Features: Learn how to organize your project with material folders and create physics materials. We’ll also discuss essential game features that will enhance the player experience.
- Adding Bricks & Enemies: It’s time to populate our game world! We’ll add bricks with rigid bodies, sprite renderers, and colliders, adding gravity for realistic physics. Then, we’ll create enemies with colliders, rigid bodies, and even a script for dynamic behavior.
- Discussion & Next Steps: Reflect on what we’ve accomplished today and discuss our next steps. This is your chance to ask questions, share insights, and prepare for the exciting development journey ahead.
Whether you’re a seasoned Unity developer or just starting, this course will equip you with the skills and knowledge to bring Angry Birds to life in Unity. Let’s begin this adventure together!
Kindly Note that this is the 4th Short Course in the Series of our Master Course “Scratch to Unity”.
After completing this 2nd step we will recommend you to join next 2 courses in the series:

Or refer to “Scratch to Unity” short courses page if you have missed out 1-3 short-courses:
Course Content
Implementing Angry Bird in Unity
-
Game Demo
05:35 -
Creating 2D New Project
03:14 -
Making Game Environment
05:19 -
Creating Ground
05:52 -
Creating Player (Angry Bird)
09:16 -
Adding Spring to Player
13:45 -
Writing Player Script
01:04:01 -
Adding Required Materials for Game
01:56 -
Adding Bricks in Game
07:48 -
Creating Enemy
04:02 -
Discussion
05:49
Student Ratings & Reviews
